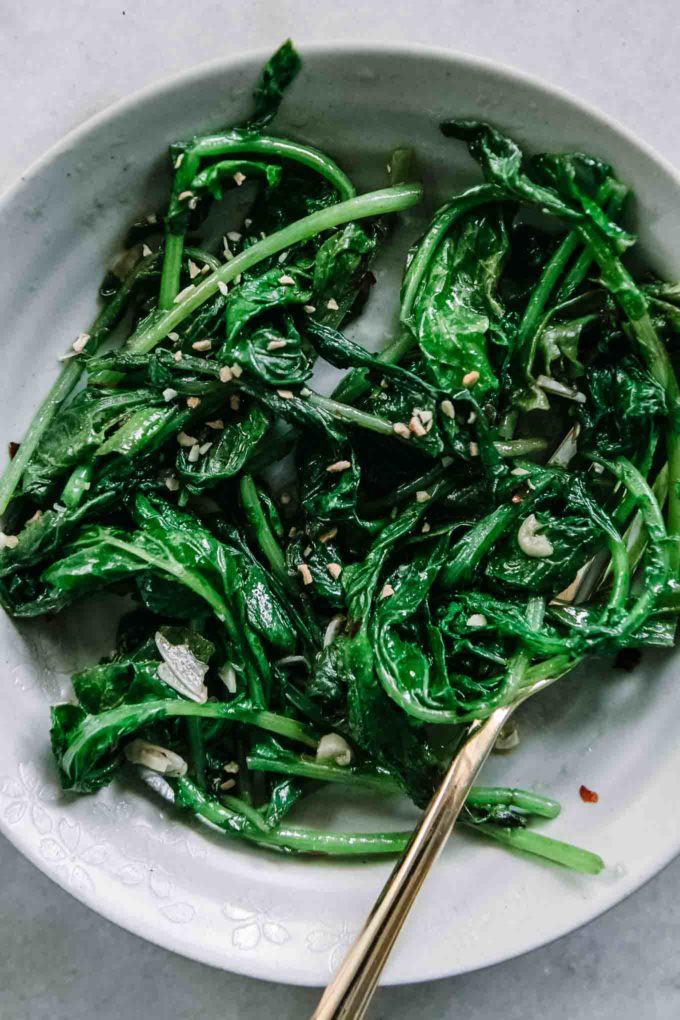
How to Sauté Radish Greens
Don’t toss those radish tops! Learn how to make sautéed radish greens for a simple wilted greens side dish that’s big on flavor and reduces food waste. Root-to-stem cooking at its finest!
Want to Save This Recipe?
Enter your email & I’ll send it to your inbox. Plus, get new plant-based recipes in your inbox!
By submitting this form, you consent to receive emails from Fork in the Road.
Do you throw out the leaves of radishes? If so, don’t! Reduce food waste by using radish greens in place of other leafy greens in sauces, soups, salads, and even as a side dish.
Radish leaves are an edible leafy green that are a great replacement for herbs and light lettuces like chard and spinach. In fact, radish greens are also great as a side dish on their own when lightly pan fried with garlic, red pepper, and olive oil.
Want to learn how to sauté radish leaves? Let’s do it!
🎥 Recipe video (watch me make it!)
Watch the video below to learn how to make Sauteed Radish Greens, or scroll down for step-by-step photos and to print the recipe card.

👩🍳 How to sauté the leaves of radishes (step-by-step)
1️⃣ Step One: Prep the radish greens
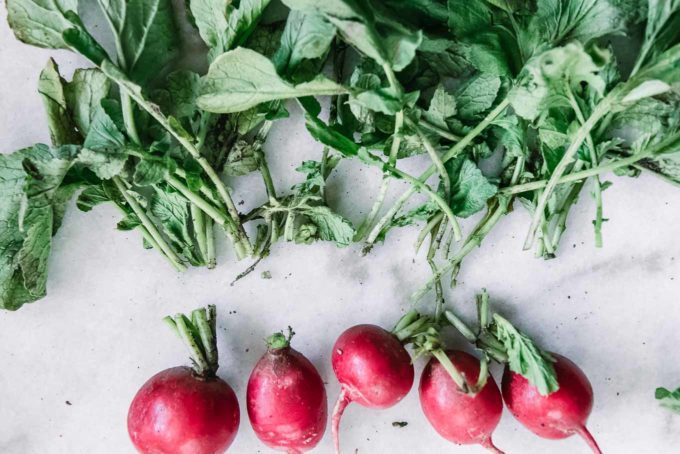
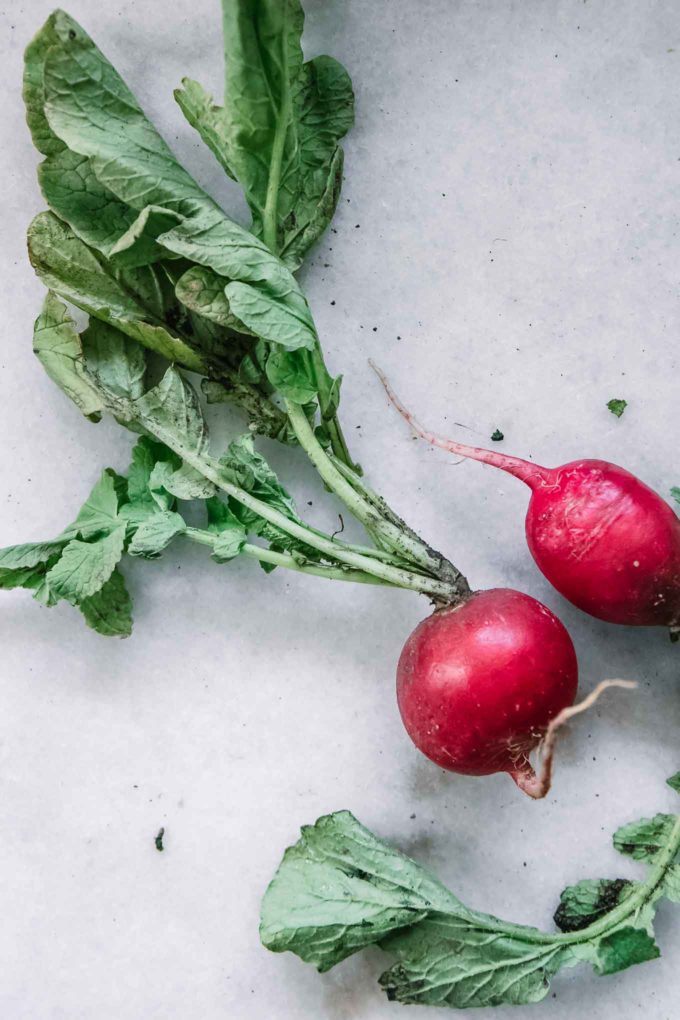
The first step to pan frying radish tops is to cut them from the stem and give them a good wash. Because radishes are a root vegetable, meaning they grow in the ground and come into direct contact with dirt, the leaves and stems usually need a washing before eating.
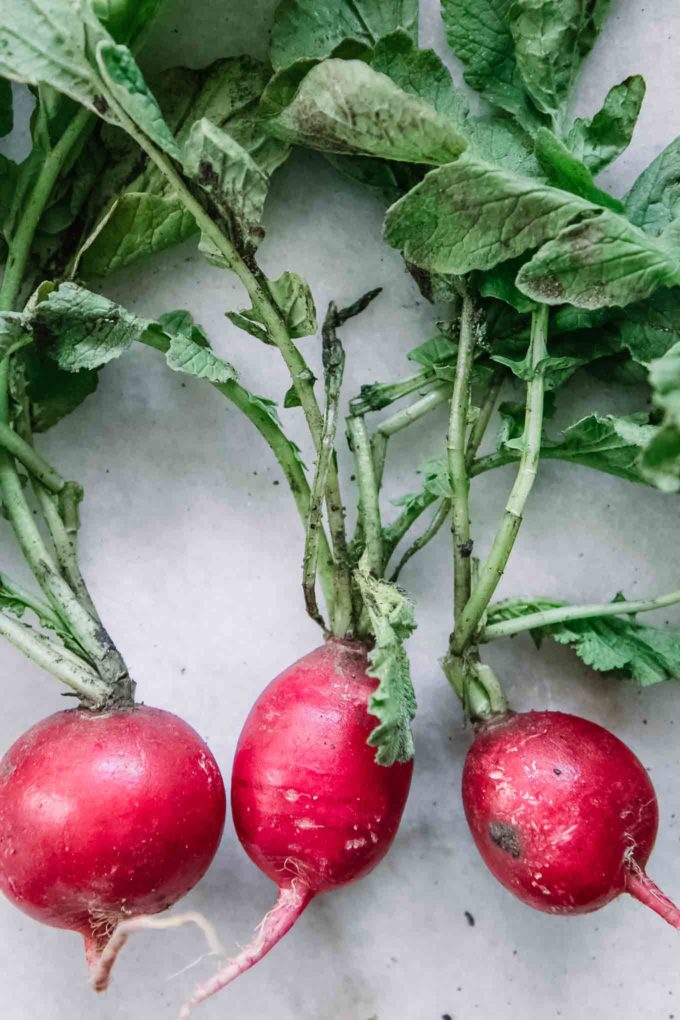
First cut radish greens from the root, then cut the stiff stems right under where the greens start to grow. The stems are actually edible as well, but can sometimes be very tough so we want to use the softer stem areas, which are right under where the leaves begin to grow.
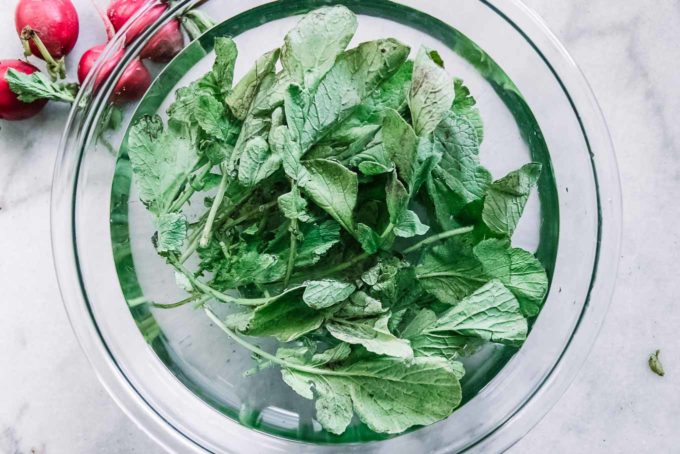
To wash radish leaves, you can either run them under water or soak them. We prefer to soak, and to do this we fill a large mixing bowl with cold water and submerge them for a few minutes, stirring or moving the leaves around with your hands to make sure as much dirt is removed as possible.
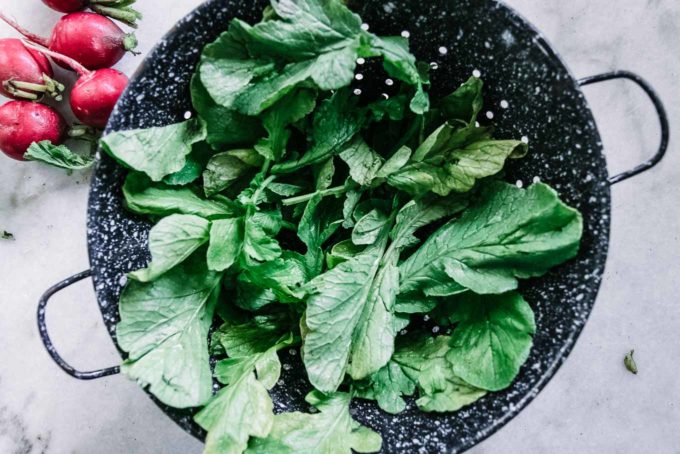
Next, remove the leaves from the water and use a salad spinner to remove water or put into a bowl or lay flat to dry (about 5 minutes).
♻️ Pro Tip: See our full guide on washing, drying, and prepping radish greens here.
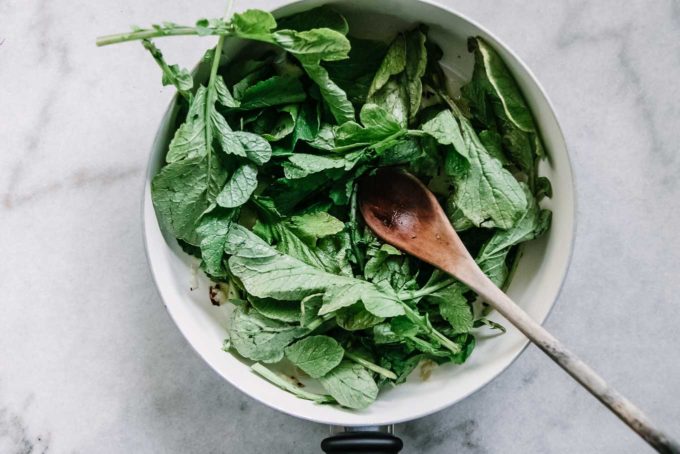
2️⃣ Step Two: Sauté the greens with garlic and red pepper
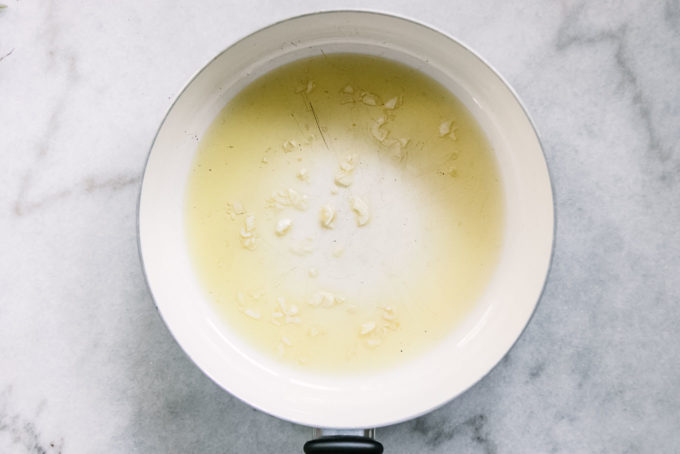
Next it’s time to saute the radish tops. Add olive oil to a medium frying pan and heat over medium-low heat. Add minced garlic and cook until it begins to brown and become fragrant, about 1-2 minutes.
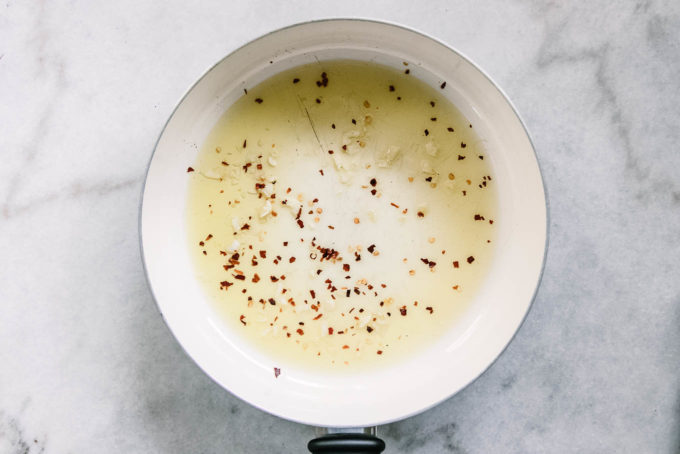
Next add the red pepper and cook about 20-30 seconds more, or until the pepper begins to release its color into the oil (do not overcook or the pepper will turn black and have a strong burnt flavor).
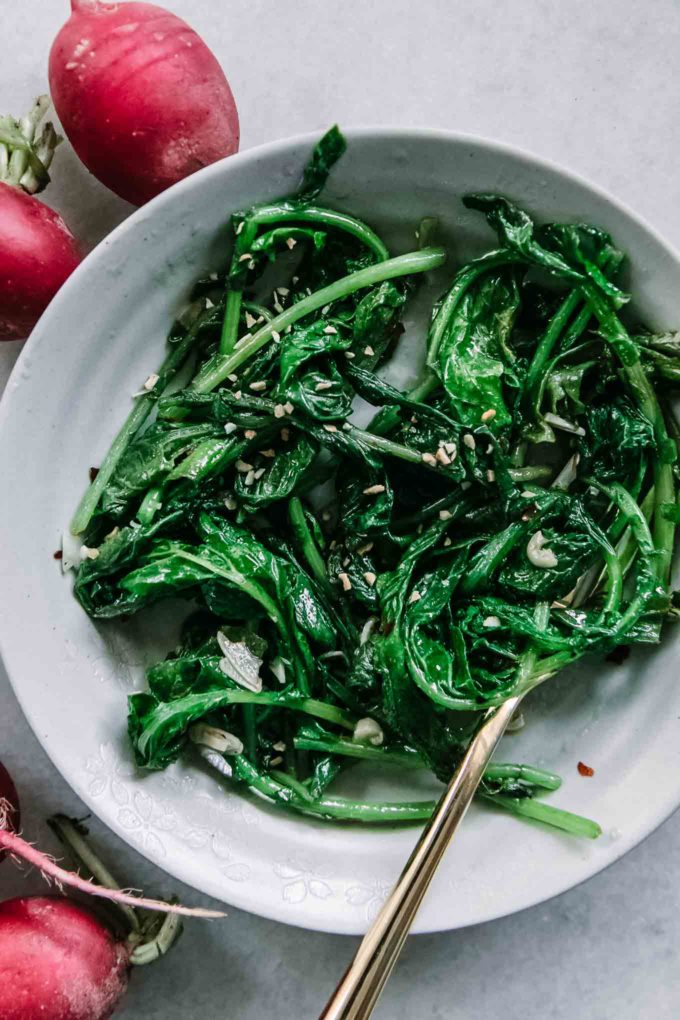
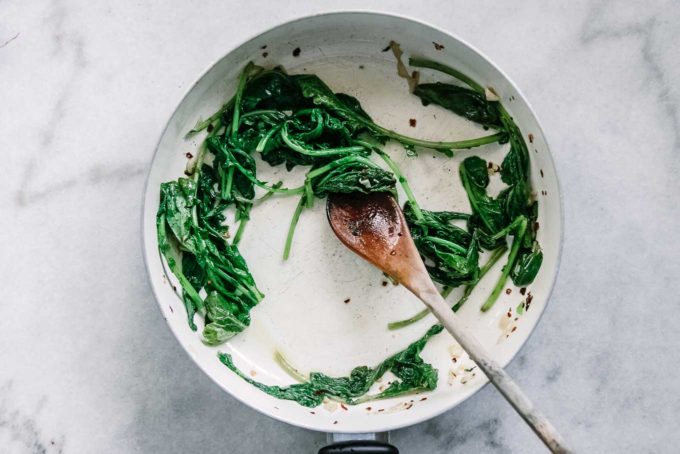
Then add the radish greens to the pan and stir continuously until they are covered in oil and completely wilted and cooked down, about 2-3 minutes.
Radish leaves are a very soft leaf, similar to spinach, so they cook quickly and reduce to about ⅓ the size of when they are dry.
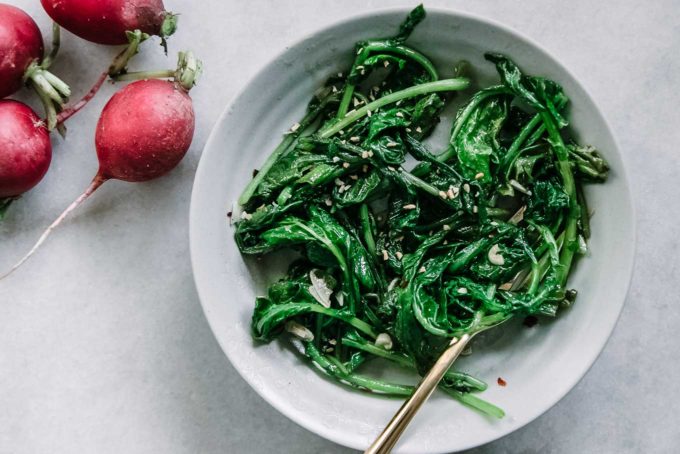
When the greens are done, remove them from the pan and plate. Serve immediately for best flavor, and enjoy!
❓ Questions + quick tips about radish greens
The leaves on radishes are not only edible, but they’re delicious. Radish leaves are not poisonous, and in fact they are a nutritious green that tastes similar to chard (in fact, they are in the same family of cabbages as kale and broccoli).
Radish roots, radish leaves, and radish stems are all edible. However, the part of the radish stem that is closest to the root is typically very stiff and doesn’t soften when cooking. Unused radish stems and greens are perfect for flavoring stock.
Radish leaves are a healthy leafy green that are high in vitamin C, vitamin K, vitamin A, and have about 20 calories per serving (about 1 cup of chopped greens) (USDA Food Nutrient Database).
Radish leaves can be frozen for up to 2-3 months. Simply remove the greens from the radish at the thickest part of the stem, and then wash and dry them before storing in an airtight freezer bag wrapped in a kitchen cloth or paper towel.
♻️ Sustainable kitchen tips, tricks, and tools
- Stock up on greens during radish season! The best time to make recipes using radish greens is during the height of radish season. In California that’s actually year round, but check out Seasonal Food Guide’s produce seasonality calendar to find when radish greens are in season near you.
- Store cut stems in water to keep them fresh. If you’ve cut the greens from the radish roots before using, keep them fresh by placing the stems in a glass of water and storing in the refrigerator for up to 3 days. The water will keep the stems and leaves from wilting.
- Use the discarded radish stems in vegetable broth. Don’t toss the thick stems! Use them in a food scrap vegetable broth for flavorful soup stocks.
🌱 More recipes using radish leaves
Love this simple sautéed greens recipe using radish tops? Check out our other plant-based radish tops recipes:
- Radish Greens Pesto Sauce
- Radish Greens Pesto Pasta
- Radish Greens Chimichurri
- Roasted Radish Tops Chips
- Leftover Radish Leaves Smoothie
- Radish Greens Vegetable Soup
NOT SURE WHERE TO START WITH PLANT-BASED EATING?
Get my 4-Day Plant-Based Meal Plan to start your journey on the plant path.

Sautéed Radish Greens Recipe
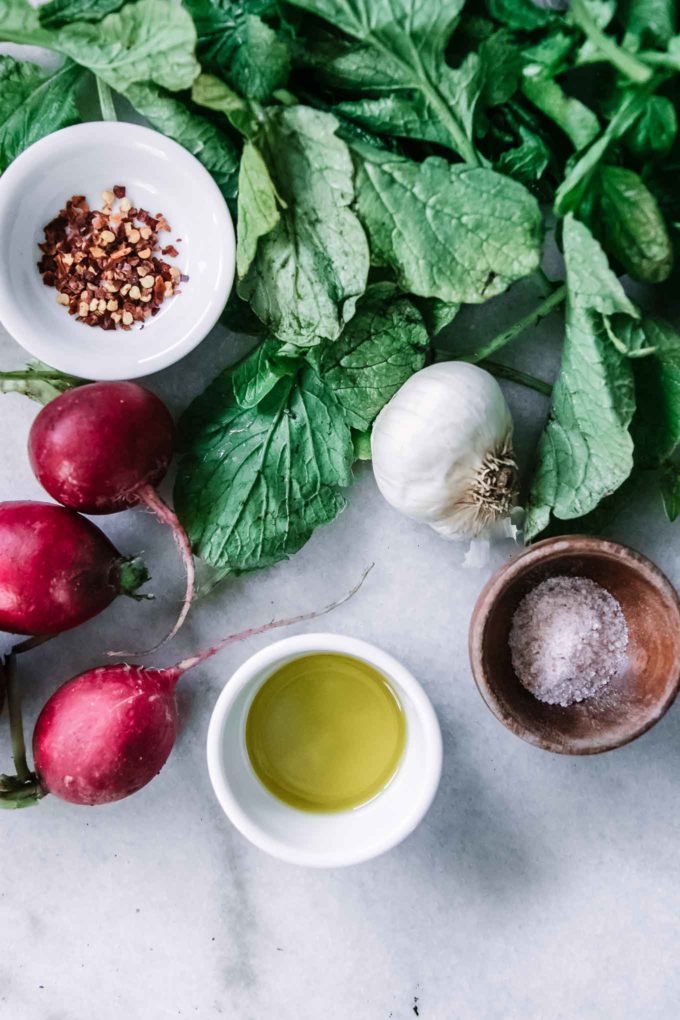
Ingredients
- 4 cups radish greens or amount from 1 bunch
- 4 whole garlic cloves minced
- 2 tablespoons olive oil
- 1 pinch red pepper flakes to taste
- 1 pinch salt
Instructions
- Prepare radish greens: First cut greens from the radish root, then cut the stiff stems right under where the greens start to grow. Fill a large mixing bowl with cold water and submerge radish stems for a few minutes, stirring or moving the leaves around with your hands to make sure as much dirt is removed as possible. Next, remove the leaves from the water and use a salad spinner to remove water and put into a bowl or lay flat to dry (about 15 minutes).
- Sauté the greens: To a medium pan heat olive oil over medium-low heat. Add minced garlic and cook until it begins to brown and become fragrant, about 1-2 minutes. Next add the red pepper and cook about 20-30 seconds more, or until the pepper begins to release its color into the oil (do not overcook or the pepper will burn). Then add the radish greens and stir constantly until they are covered in oil and completely wilted and cooked down, about 2-3 minutes.
- Serve: Remove to a plate and serve immediately.
Video
Notes
- Notes: Radish greens have a hearty, earthy taste and chewy texture, unlike softer greens like arugula. However, like softer greens the radish leaves will cook down to a very small amount (1 cup ends up being about ⅓ cup cooked).
- Tools needed: glass mixing bowl, medium pan, knife set, cutting board, salad spinner
- Prep ahead: Cooked soft leafy greens are best eaten immediately, so we do not recommend cooking these radish tops ahead of serving. However, you could wash and prep the greens up to a day ahead of time so they’re ready to be cooked. Any more than this and the greens will wilt and not look their best.
- Leftovers and storage: Store any leftover greens in the refrigerator for up to two days and reheat over the stovetop or quickly in the microwave. We do not recommend freezing.
- Nutrition notes: Nutrition information is estimated using only 1 tablespoon of olive oil, as the full amount of oil will not be absorbed by the radish greens. This recipe is vegan, gluten-free, and is a good source of vitamins C and K, and potassium.
I love that you are using these too often ignored greens. Not only are they delicious but did you know they are actually MORE nutritious than the radishes themselves?
I add them, and the radishes, to soups and stews all the time. Cooked radishes have a really nice texture, somewhere between a carrot and a potato. Great for people with diabetes or other dietary restrictions! Thanks for the great recipe ideas 🙂
Thanks so much for the comment! And yes, they are absolutely an underused green and are a versatile in salads, sides, smoothies, soups, etc. It’s my personal mission to get people using greens that would otherwise be thrown out!
I love cooking greens this way so gave this a try with radish greens. Delicious. Threw in some cooked chickpeas too. Yum yum. Perfect light lunch.
Thanks for the feedback, Valentina! Adding chickpeas sounds delicious, we’ll have to try that next time. Enjoy!
I added some Crema Fresca for a creamier taste. Delicious.
Glad you liked it, Sue!
Made this tonight because our weekly farm coop shared a bunch of radishes with big, beautiful leafy greens. Very tasty!
So glad you liked it Nancy!
Tried these greens for the first time using your simple recipe and they were simply delicious! No longer will they be thrown away. Thanks for the tip!
So glad you liked them, Sue! Thanks for sharing.
I found your suggestion great . I added them to a mix of collard, and turnip greens it was amazing.
So glad you enjoyed it, Daniel! Thanks for leaving your review.
I made this recipe. The radish leaf flavor was stronger than expected and was good with garlic, red pepper flakes, salt and black pepper. I will make this dish again. It would also be good in an organic Ramen type soup. Thank you!
Hi Laurel, thanks for your comment! Yes, I think that radish greens would be delicious in ramen. Let me know if you give it a try!
Hi Kristina !
Was happy to see someone else eats radish greens – they are very healthy and cost nothing but a bit of work to clean.
Your cleaning tips are good but just washing them under running water will likely not get the leaves and stems clean – soaking in a bowl works wonders but a few suggestions to assure no dirt grit ends up between the teeth (not dangerous but unpleasant). The leaves should be carefully swished allowing the dirt to fall to the bottom of the bowl – then carefully taken out by hand and placed in a colander, making sure not to stir up the dirt from the bottom. This should be repeated until the water is clear, at least 2 washings/soakings, typically 3 times but up to 5 times ( this is what the French do with lettuce and especially leeks picked fresh from the garden ).
Happy cooking !
Charles
Thanks for the tips, Charles! This is a great way to get radish greens clean.
I retired in November and am having my first vegetable garden. Of course, the first harvest is radishes! We’ve been eating the radishes as fast as I can pick them, but the greens this morning looked so pretty I googled cooking them. Found your recipe and sautéed them with a few of the radishes. Delish! How can you go wrong with EVOO, garlic and red pepper flakes!
I’m so glad you liked them Cathy! I love radish greens, they’re light and don’t have a strong bite like other greens so they’re great simply made. Thanks for trying!
This was great, thank you! I was able to try this with my CSA share and it was delicious!
So glad you liked them, Maki! I love using up radish greens instead of throwing them out. They’re such a versatile green.
This was my first time cooking and eating radish greens. We got a bunch from our farmer’s market and I wondered if the greens were any good to eat. This recipe was great. I found them too bitter to eat on their own but mixed it my homemade baked beans, they were good!
I’m so glad you liked it, Heather! Thanks for leaving your review.
I sautéed them and at the end poured an egg that I had scrambled over the green and quickly set the egg among the greens. Very tasty!
I’m glad you liked the recipe, Laura! I hope this means you’ll cook with radish greens more often. 😉