Crispy Baked Turnip Tops
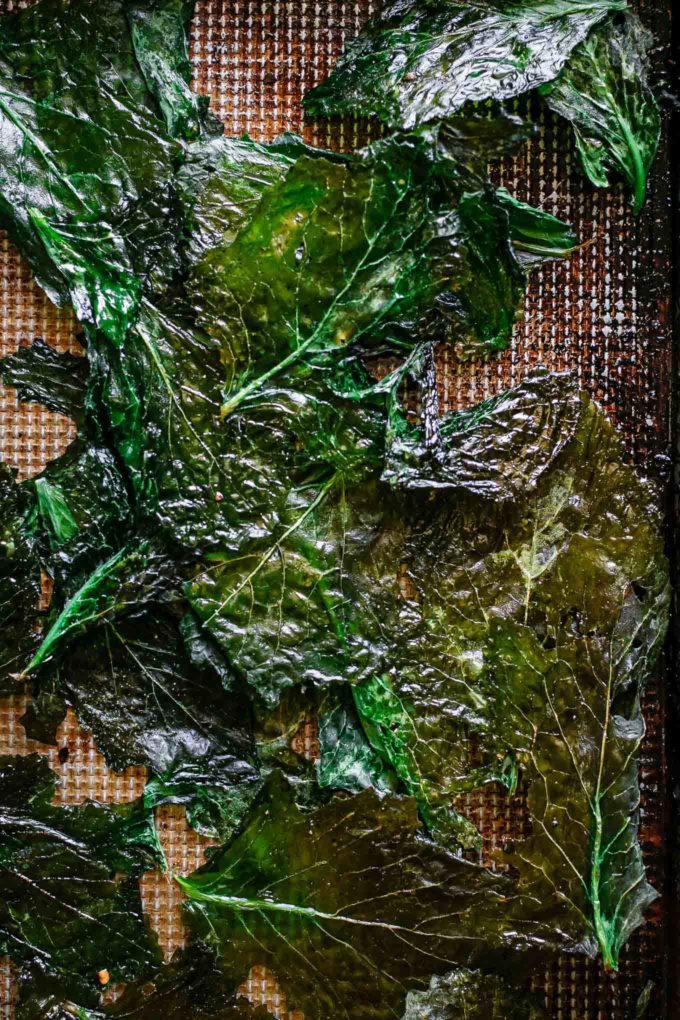
Crispy Baked Turnip Tops, a simple crunchy snack recipe made from roasted turnip greens. Reduce food waste and turn those turnip tops into a healthy baked chip!
Want to Save This Recipe?
Enter your email & I’ll send it to your inbox. Plus, get new plant-based recipes in your inbox!
By submitting this form, you consent to receive emails from Fork in the Road.
Sick of kale chips? You’re in luck, because there’s a new leafy green chip in town: turnip top chips! You don’t want to miss out on this crunchy snack that also happens to be good for you and good for the planet.
👉 Here are three reasons why you should be crisping turnip leaves into snack-worthy chips:
- They’re healthy. Skip the excess salt that’s typically in store-bought chips. Get your crunchy fix and your greens at the same time! Turnip greens are a source of fiber, as well as vitamins and minerals like potassium, magnesium, iron, and vitamin K.
- They’re easy to adjust. While we used a simple seasoning of salt and pepper, you can add any spices or flavors that you like to your turnip top chips. You can enjoy them as a snack on their own, or pair them with another dish for extra crunch. We love putting them on sandwiches or crunching them on top of pizza!
- They’re eco-friendly. This is a root-to-stem recipe that uses an ingredient that usually gets thrown out: turnip greens! These greens are perfectly edible (and delicious). You can save them from the landfill by making them into your new favorite snack.
Ready to learn how to make chips from turnip leaves? Let’s do it!
🌿 Ingredients
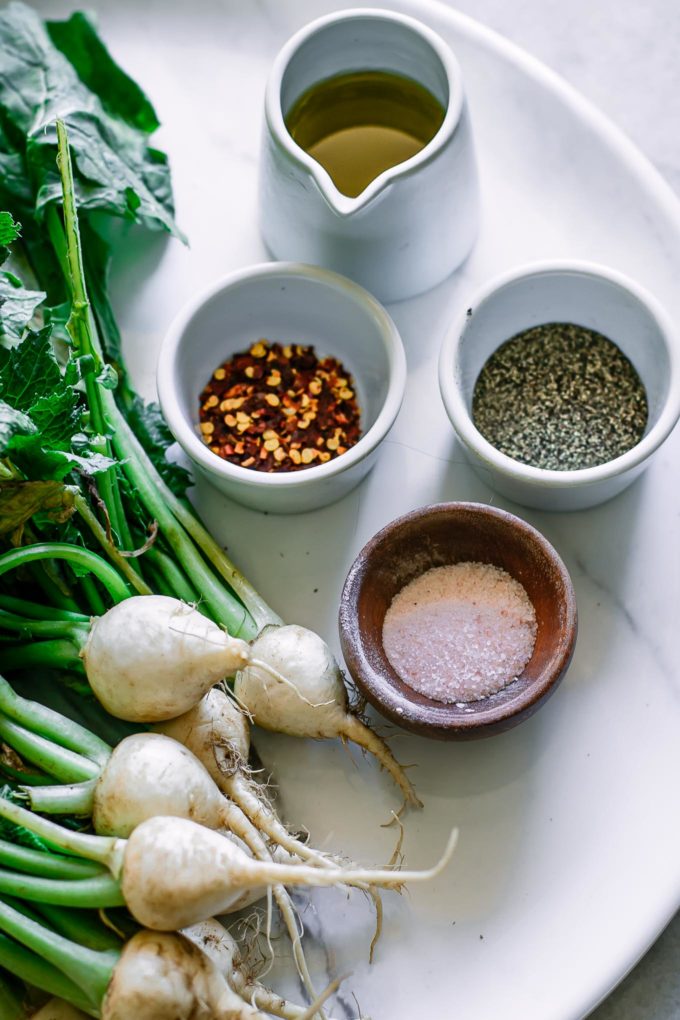
You only need 4 super simple ingredients in order to bake turnip tops. Here’s an overview of what you’ll need:
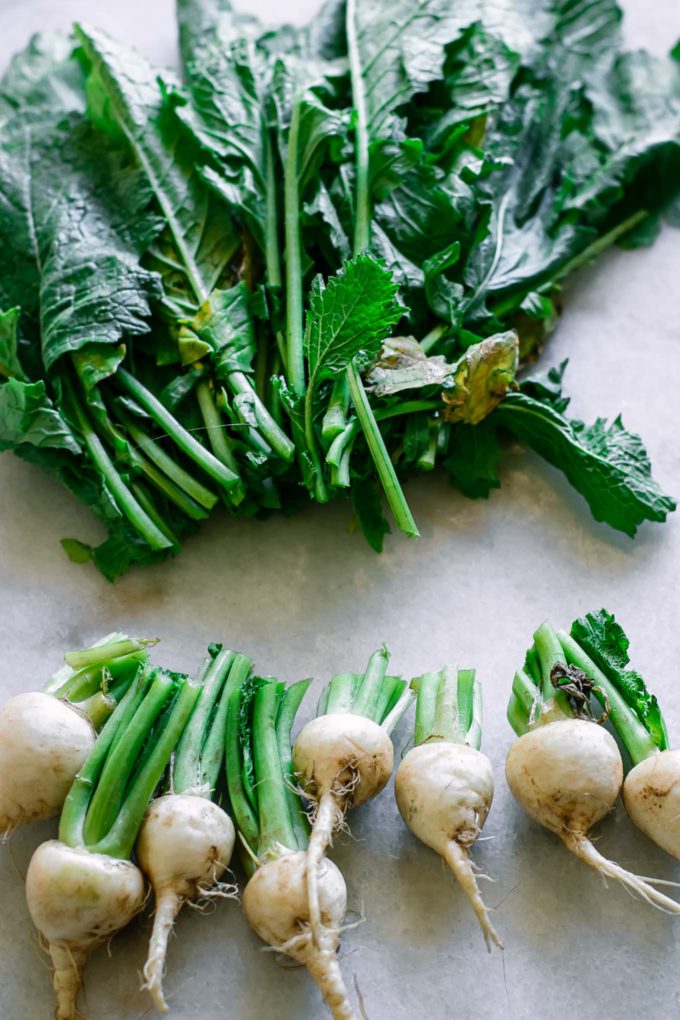
- Turnip leaves: Yes, the leaves of turnips are safe to eat and super tasty! Their sturdiness makes them perfect for baking into a crunchy snack. All you need to do is cut the greens from the turnip stems, give them a good wash and dry, then roast in the oven until crispy.
- Olive oil: You’ll coat the turnip leaves with olive oil (or another high smoke point oil), which gives them their crispy texture when roasted. Olive oil also lends a delicious flavor to leafy green chips!
- Salt + pepper: The simple seasoning blend we used for this recipe. You can add any other spices and seasonings that you like, such as garlic powder, lemon juice, or nutritional yeast.
- Recommended tools: baking sheet, mixing bowl, spatula
🥣 How to make (step-by-step photos)
1️⃣ Step One: Wash and prep turnip tops
First, cut the leaves from the stem of the turnips. Set the stems aside to use in other recipes, like homemade veggie stock.
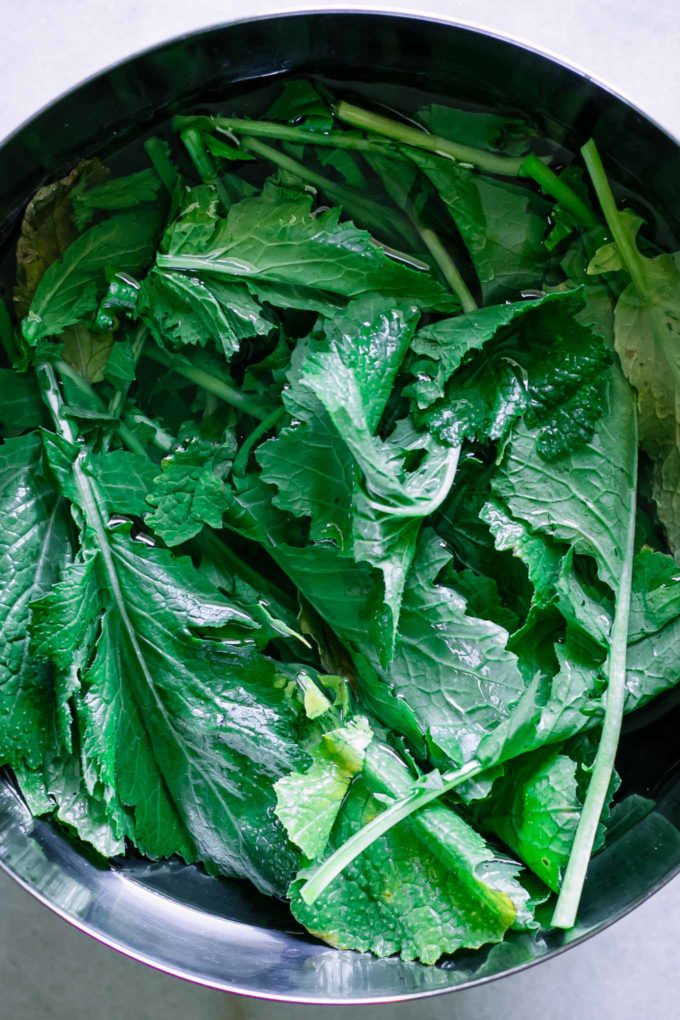
Next, submerge the greens in some water and wash them to remove any dirt. Allow them to dry by laying flat on a kitchen towel or plate, or by using a salad spinner.
2️⃣ Step Two: Preheat the oven + prep the greens
Once the greens are washed and dried, preheat the oven to 400 degrees F (200 degrees C).
Then, place the turnip greens in a large mixing bowl and drizzle them with olive oil. Massage the greens with your hands, coating them evenly in oil.
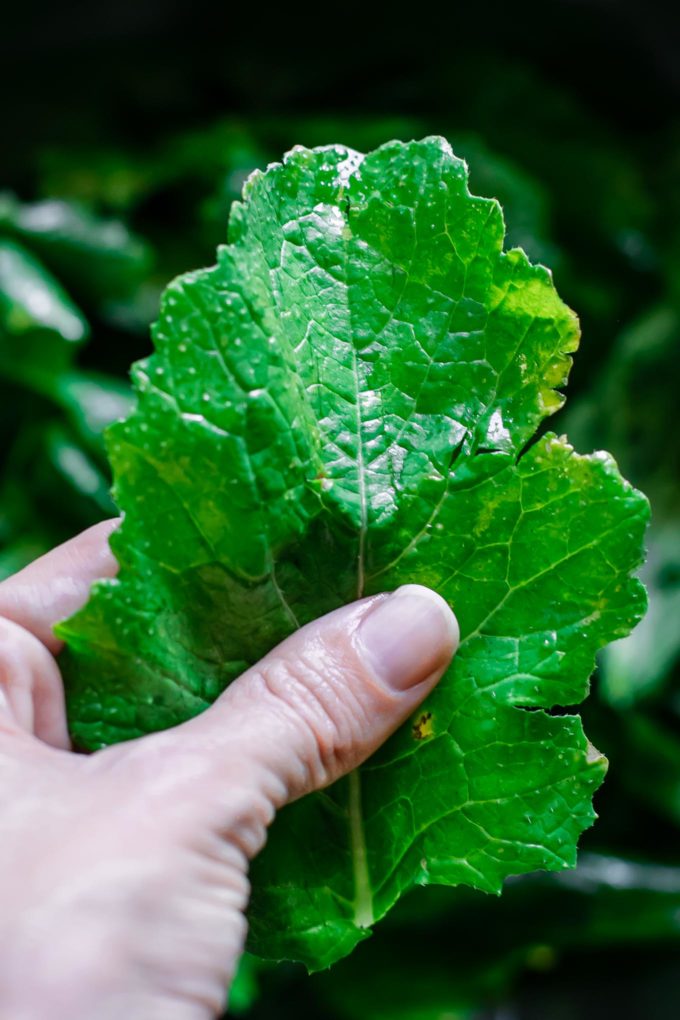
Next, coat a sheet pan with a little olive oil, and spread the oiled turnip greens out on the pan. Sprinkle them with a bit of salt and pepper, and any other seasonings.
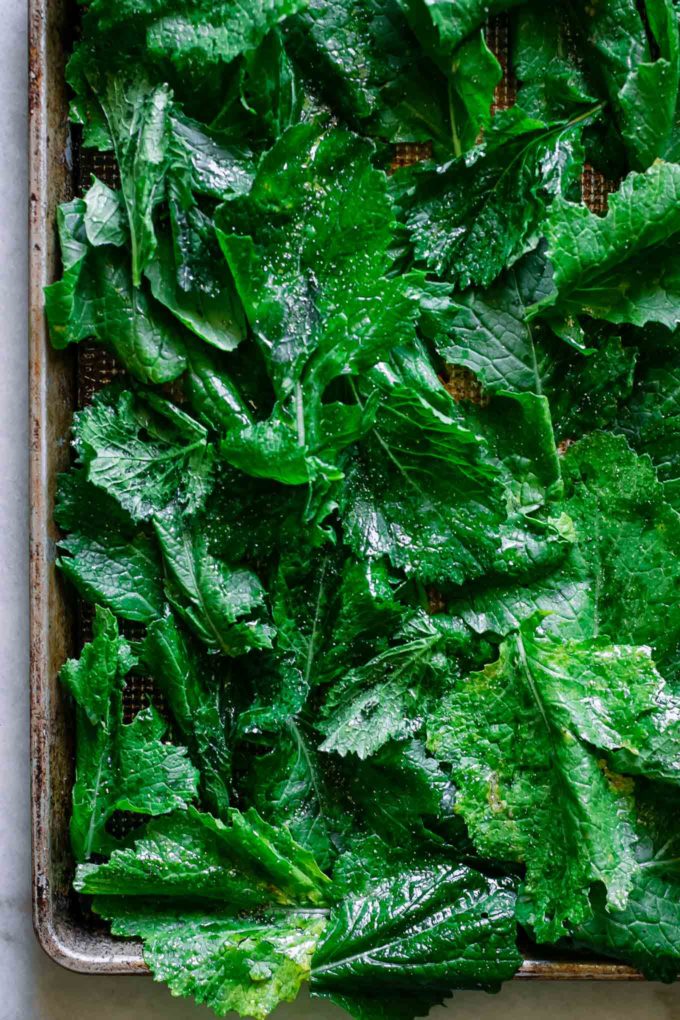
3️⃣ Step Three: Bake turnip greens until crispy
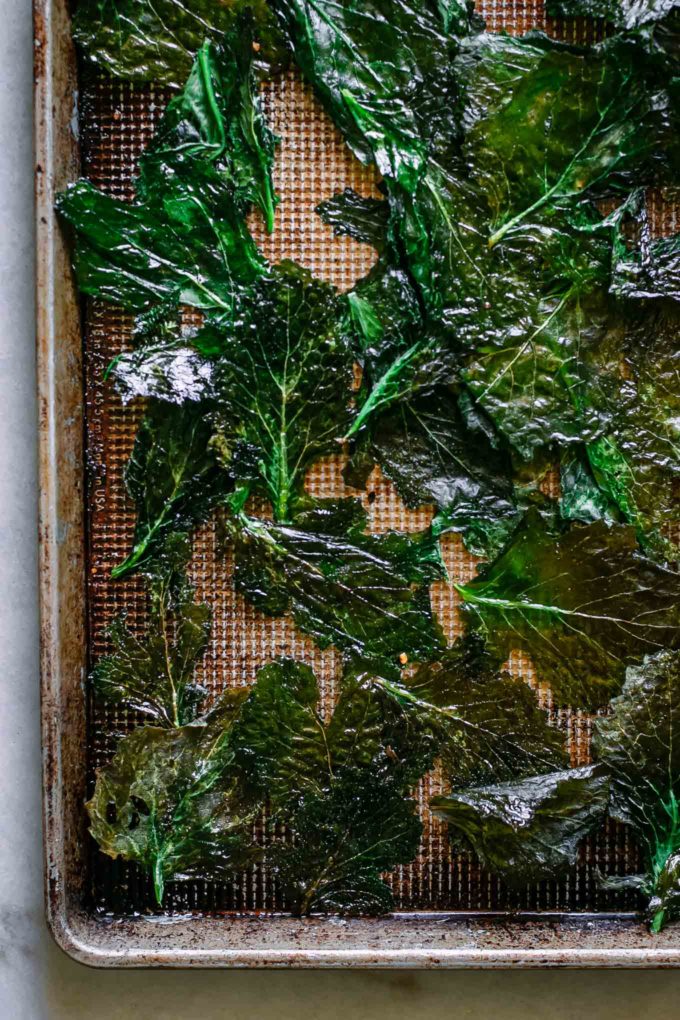
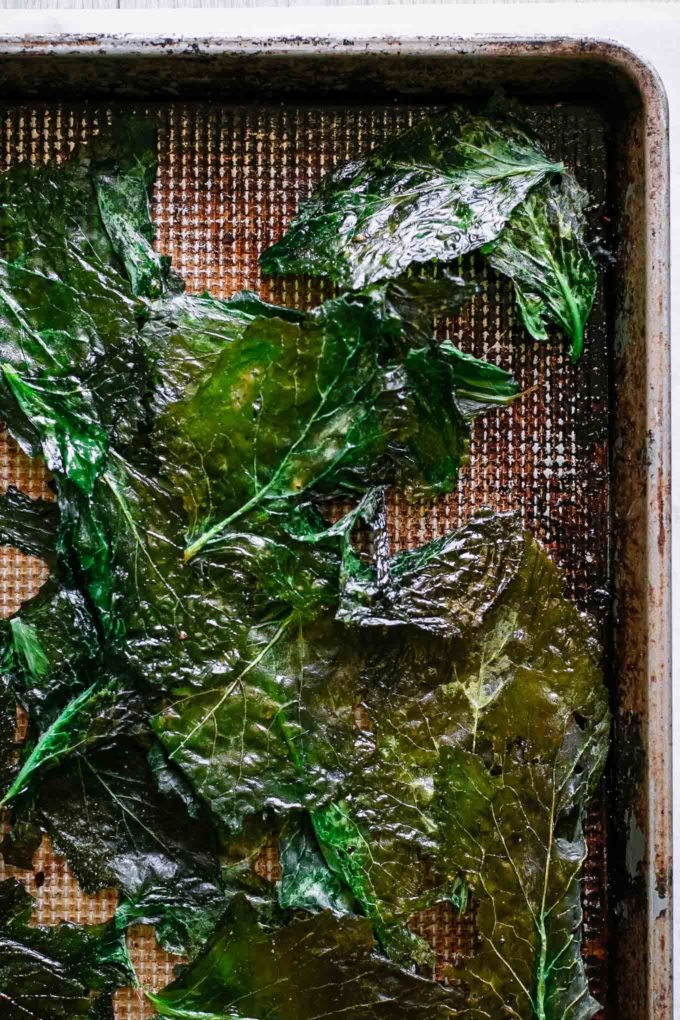
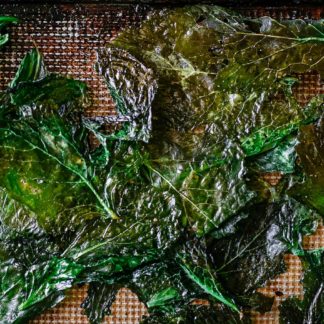
Roast the turnip tops in the oven until they’re crispy, being careful not to burn them. Depending on your oven, this should take about 8-10 minutes. About halfway through baking, flip them with a spatula to make sure they roast evenly on all sides.
When they’re done baking, take them out of the oven and enjoy! It is best to eat them right away, as they will lose their flavor and texture over time.
❓ Recipe questions + quick tips
Yes, you can eat the green tops of turnips! Not only are they edible, they’re super tasty. The greens are sturdy enough to use in salads, blend in with smoothies, bake as chips, or even sauté for a simple side dish.
Turnip greens are a healthy leafy green option—you can use them in place of other greens like swiss chard or mustard greens. You’ll get a variety of vitamins and minerals like vitamin C, vitamin K, and potassium from turnip greens, as well as fiber and disease-fighting antioxidants.
Turnip greens can be used in the same way that you would use any other green! Use them to make salads or add a nutrient boost to smoothies. You can also pulse them into sauces like pesto or chimichurri, cook them into a side dish, or roast them into healthy crispy “chips”.
🌱 How to serve
There are so many different things that you can do with baked turnip tops! While they taste absolutely delicious on their own, here are a few ways that you can switch them up so you’ll never get sick of them:
- Add a little parmesan or nutritional yeast: Make it cheesy! Parmesan would add a delicious flavor to baked turnip tops. If you’re plant-based, nutritional yeast will do.
- Sprinkle on top of a salad: Crunch crispy turnip tops on your favorite salad! They taste great when combined with other greens and vegetables.
- Use as a topping: The possibilities are endless for what you can top with turnip greens chips! Try them sprinkled on tacos, pasta, pizza, or even soup.
- Experiment with other flavors: Try mixing in some garlic and lemon juice, or salt and vinegar, with the turnip greens chips before baking.
🧊 How to store
We suggest eating roasted turnip tops right away, as this is when the flavor and texture are the best! However, they are super easy to store on the counter. Simply keep them in an airtight container and enjoy them within two days.
♻️ Sustainable kitchen tips
This recipe is a great way to reduce food waste in and of itself. Here are a few ways to make it even more sustainable:
Make the most of turnip season. Here in California, turnips are available year-round. Find out when they’re in season near you here! We recommend making baked turnip tops when they’re at the height of their growing season—you’ll save money and it’s better for the environment.
Don’t toss the veggie scraps. If you have unused parts of the turnip stems after cutting, set them aside to use in other recipes. You can use them to add flavor to homemade vegetable stocks!
💚 More root-to-stem turnip recipes
Looking for more recipes using turnips? We’ve got you covered:
NOT SURE WHERE TO START WITH PLANT-BASED EATING?
Get my 4-Day Plant-Based Meal Plan to start your journey on the plant path.
Crispy Baked Turnip Tops
Ingredients
- 2 cups turnip leaves from about 1 bunch
- 1 tablespoon olive oil
- 1 pinch salt and pepper
- Optional: garlic powder, nutritional yeast, lemon juice
Instructions
- Prep the turnip tops: First cut the greens from the turnip. Submerge the greens in cold water for a few minutes, washing them to remove any dirt. Lay them flat on a plate or towel, or use a salad spinner to allow them to dry.
- Preheat oven + season the greens: Preheat the oven to 400 degrees F (200 degrees C). Add the dry turnip leaves to a medium mixing bowl. Drizzle in 2 teaspoons of olive oil, massaging the greens to completely cover the greens in oil. Grease a sheet pan with the remaining 2 teaspoons of oil, then spread the turnip greens out on the pan. Sprinkle salt, pepper, and any additional spices over the greens.
- Roast the turnip greens: Place the baking sheet in the oven and bake the turnip tops for about 8-10 minutes. About halfway through baking, take them out of the oven and flip so they can get crispy on all sides. Once they're completely crispy, take them out of the oven. Enjoy while they are warm for the best flavor!
Notes
- Tools needed: mixing bowl, baking sheet, spatula
- Prep ahead: Wash and dry turnip greens up to three days ahead of time so they are ready to prep for baking when your snack craving hits.
- Leftovers + storage: While the flavor and crispiness is best when you eat them right away, extra baked turnip tops can be stored in an airtight container on the counter. Enjoy within two days.
- Nutrition notes: This recipe made as written is plant-based, gluten-free, nut-free, and is a healthier alternative to traditional chips and crisps.

Can you make this a day or two ahead of time?
Hi Tiffany! Yes, you can make these tips a day or two ahead of time. They are very fragile after baking though, so I suggest storing them in an airtight container that won’t smash them. Then you can enjoy for up to 3-4 days, possibly longer (but we haven’t tested that, they don’t last that long in our house!). Hope that helps!